

Aperture
Aperture is the size of the opening in the lens which actually determines how much light reaches the sensor.
Bokeh
Bokeh is another style of photography. In simple terms, bokeh is the pleasing or aesthetic quality of out-of-focus blur in a photograph. Many claim that it isn’t possible to take bokeh shots with a smartphone however many really good results have been seen however it can depend on the phone in question.
 AN EXAMPLE OF BOKEH IN THE BACKGROUND OF THE IMAGE
Burst Mode
Burst mode is an extremely useful feature on many smartphones. It allows the photographer to take 10 photos per second. Great if you want to get an action shot or can be extremely helpful in getting that perfect “candid” shot!
iPhone users simply hold down on the capture button. Do note that it will only appear as one image in your photo album. Click into it to see all of the photos that you took and pick your favourites!

Composition
Composition is extremely important when taking a photo as it is literally a general term to explain everything! The lighting, lines, colours and the subject of the photo. Once a little bit of time is spent figuring it out, your photos should turn out much better!

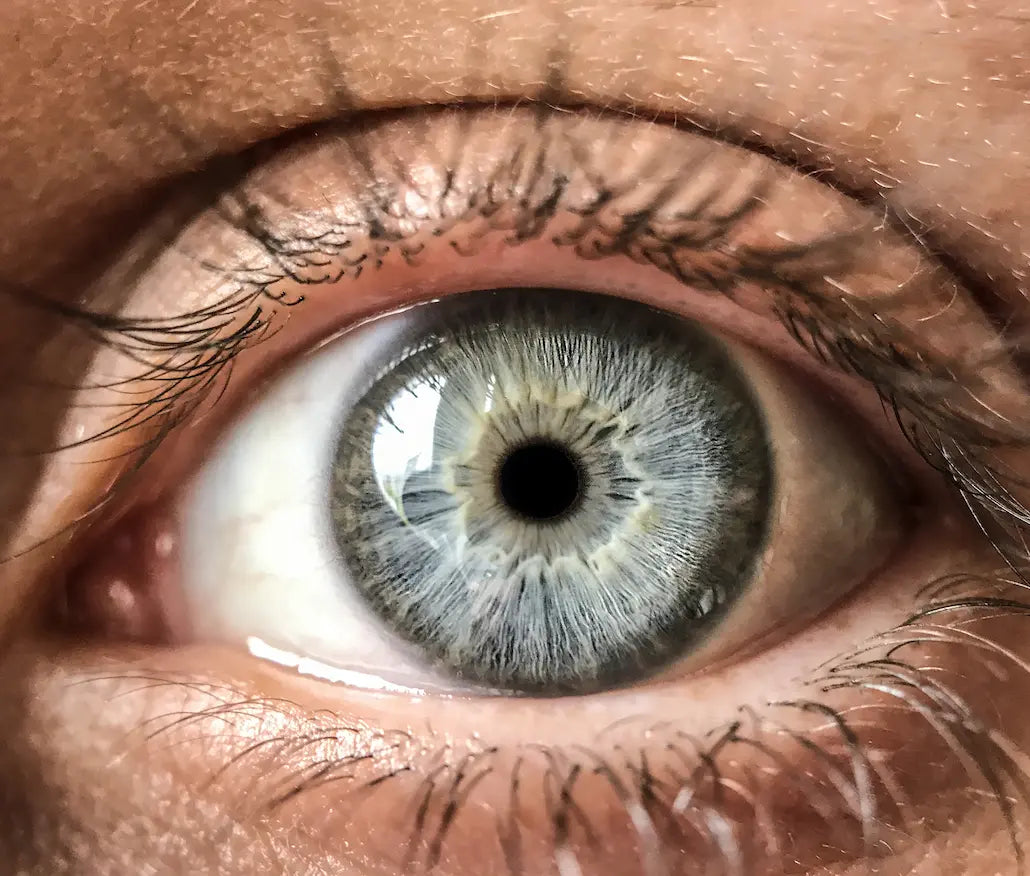
Depth of Field
A simple definition of depth of field is simply the zone of acceptable sharpness within a photo that will actually appear in focus. In every picture there is a certain area of your image in front of and behind the subject that will appear in focus.
This zone will vary from photo to photo. Some images may have very small zones of focus which is called shallow depth of field. Others may have a very large zone of focus which is called deep depth of field.
Dynamic Range
In simple terms, the dynamic range is colour range from the lightest to darkest colour a camera can take of an image. Most smartphones don’t have a huge range and makes taking photos of the sunrise and sunset for example, pretty complicated. The worst part being that the golden hours are normally the best hours to take photos!
Exposure Level
Exposure on your smartphone allows you to adjust the brightness on your photo. Make it darker or lighter accordingly because sometimes our phone isn’t always perfect and even though it tries to adjust the exposure automatically, it sometimes needs a helping hand!
Focal Point
The focal point of a photo is the main focus of the image. You need to ask yourself what exactly is the main subject of the photo. This is important as when someone looks at your final image their eye will be drawn to one main feature of the image. If there is no point of interest in the photo, there is a high probability that people will move on quite quickly to the next image.
Turn the dial up a little to make it brighter or turn it down if it needs a little darkening up. Many people have their favourite way to edit which includes changing the exposure to fit in with their theme.

Focus
Autofocus
Autofocus is where your phone automatically focuses. It is normally in or around the centre of the screen. It is super handy if that is exactly where your subject is placed but otherwise it is advised to use manual focus and tap the screen exactly where your subject is.
Manual Focus
Have you ever opened your camera on your phone, ready to take a photo and your subject isn’t in focus? Autofocus is normally quite a handy tool in speedy photography but as all things in life it is not perfect. You may have wanted to focus on the rocks in a photo but your phone is saying that the people in the background are more important. Simply tap the screen where you want to focus and normally it is as easy as that!
HDR (High Dynamic Range) Mode
The main purpose of HDR is to make your photos better. 3 photos are taken at different exposure levels. Your smartphone does all of this, making your life a fair bit easier. The idea is that the photo should be more realistic to the image in real life.
ISO
Simply put, ISO stands for the International Organisation for Standardisation. It’s the level of sensitivity of your phone’s camera to any available light. The lower the ISO number, the less sensitive it is to light and the higher the ISO number the more sensitive it is to light. Meaning that if you have good light, choose a low ISO number otherwise your photo will look extremely busy and noisy.
A high ISO number can be super helpful when shooting in a low light situation and reduces the need for flash.


Long Exposure
Long exposure is a style of photography in which a photo is taken with some type of movement, it may be a river, cars and their lights or simply someone creating a design with an illuminated object. This style of photography was normally limited to SLR cameras but with phones getting better and better with time, it is slowly becoming a possibility.
One thing to note is that a lot of patience is needed to master this style of photography!

Megapixels
Megapixels is a term used to define the resolution of a photo. The term directly refers to one million pixels, which are actually small squares of information that combine to make the photo you see on your screen! The more megapixels used, the more detailed your image can be.
Noise
In terms of photography, noise is used when looking at visual distortion. An example of this would be grains seen in old film style photographs.
Noise is quite a subjective subject, however, what you may consider too much may be just the right amount for someone else.
Scale
Scale is a technique used by photographers to give a sense of size to the object. For example, taking a photo of a person standing beside an elephant helps to show how large an elephant really is whereas it may be a little more difficult to show by simply taking a photo of the elephant.

Vignettes
Vignetting appears on images, which can either be achieved while taking the photo or during the editing stage, in which the corners of the image begin to black. In other words, a less harsh version of the Pixter Fisheye black rounded border!
If the Vignette is added in post production, the black is normally much more prominent in the image.

White Balance
This is basically how your camera handles colours. When you have just taken a photo and it seems a little too pink or yellow for example it is probably because you have a problem with your white balance. This can easily be edited on your camera settings!