Here's why you should consider packing the Telephoto Pro in your carry-on bag on your next trip:
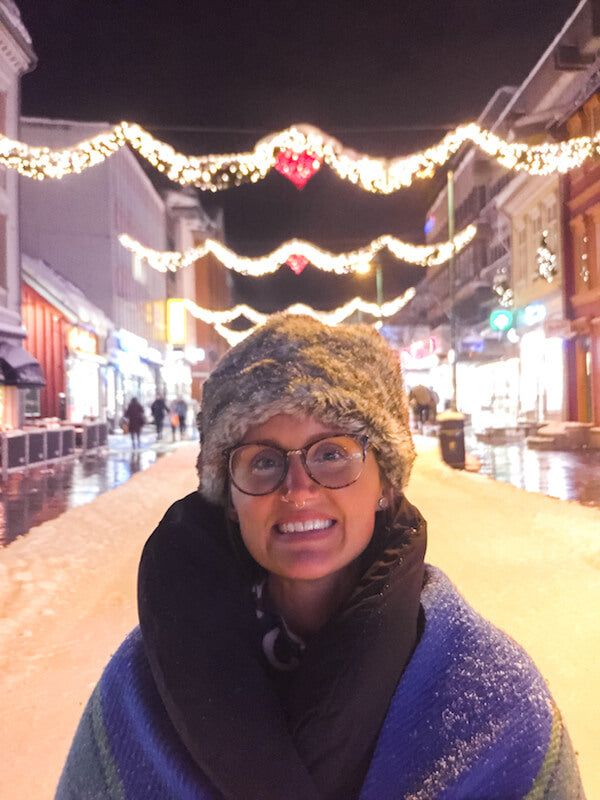
The Telephoto Pro, by focusing on a particular object, helps you obtain that perfect photo with a slightly blurred background, but also to obtain pretty bokeh . In other words, it helps you take a super classy photo without having to be a Photoshop pro!
You are probably wondering what the Telephoto Pro can really do for you. This lens is suitable if you are far from your subject: thanks to its x2 optical zoom , it will help you obtain a clearer, distortion-free image. Whereas if you use your phone's camera, by zooming in, you will realize that the image is blurry and unusable.
How to take the perfect portrait with Telephoto Pro, in 3 steps:
1. Define your topic
Most of the time, your subject will be very distinct and defined. It could be a person or a ticket for DisneyLand Paris for example! Either way, you don't want your subject to end up completely blurry!
As you can see in this photo, the main subject is the ticket and the castle is decorated with pretty bokeh in the background.
Your little companions are also a lovely source of inspiration, so cute!
2. Focus
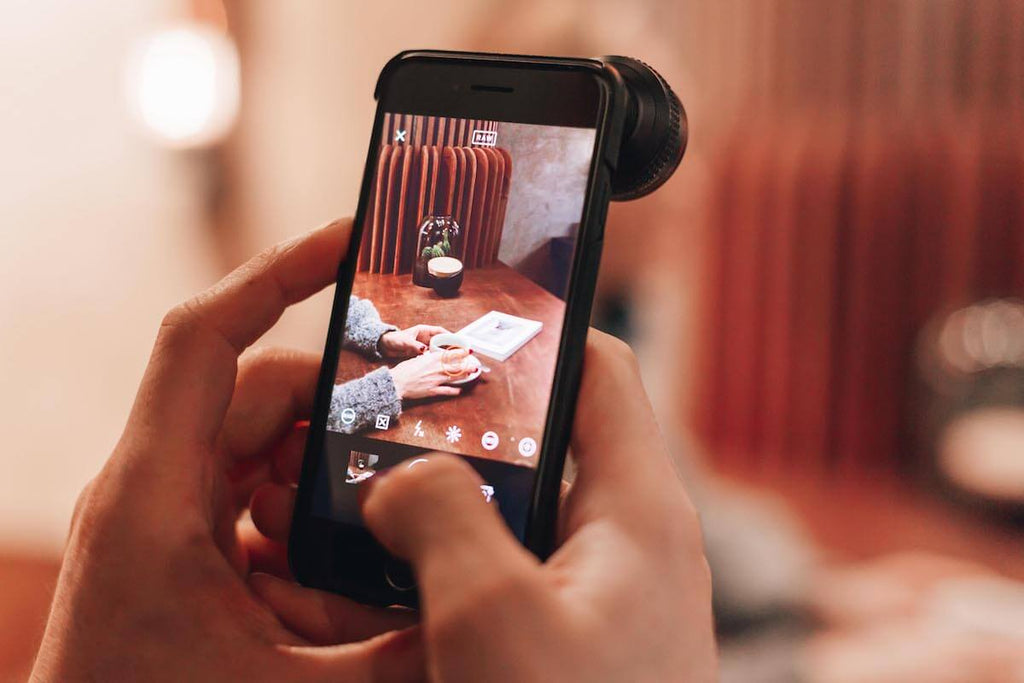
Once you've decided what your subject will be and what makes a perfect photo, tap the screen exactly where your subject is to focus.
In this case, our subject is a young girl looking into the distance, probably thinking about her next pose and wondering why there is so much fog in Paris!
3. And it's in the box!
Once you've focused on your subject, all that's left to do is take the photo! Just make sure your topic is always well defined and everything should be fine!

The result ? An ultra sophisticated effect obtained thanks to your smartphone, that your friends will find hard to believe. Now the only thing you should worry about is which Instagram filter you're going to use on this awesome photo 😉


